Step-by-Step Guide: How to Use a Monogram Maker for Personalized Designs
Are you looking to add a personal touch to your designs? A monogram maker is the perfect tool for creating unique and personalized designs. Whether you want to create monograms for wedding invitations, logos for your business, or simply add a special touch to your personal belongings, a monogram maker can help bring your vision to life. In this step-by-step guide, we will walk you through the process of using a monogram maker for personalized designs.
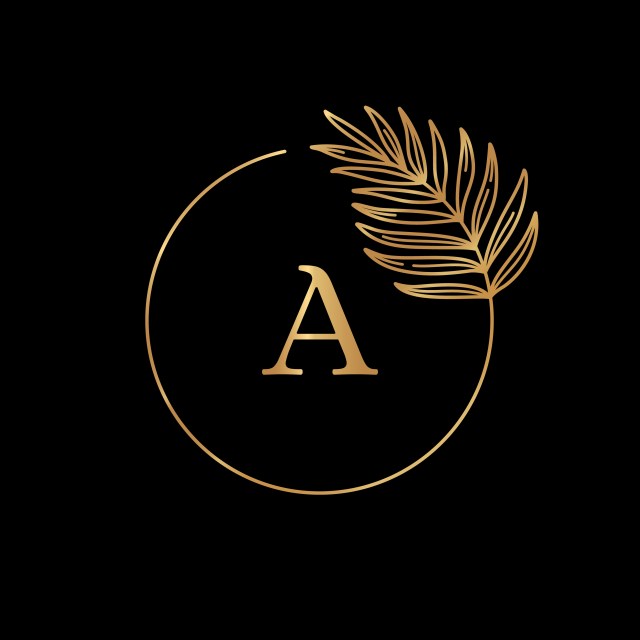
Understanding Monograms
Before we dive into using a monogram maker, it’s important to understand what exactly a monogram is. A monogram is a design created by combining two or more letters, typically initials, into one symbol. Monograms have been used for centuries as a way to personalize items and add an elegant touch. They can be found on everything from clothing and accessories to household items and stationery.
Choosing the Right Monogram Maker
With the advancement of technology, there are now numerous online monogram makers available that make creating personalized designs easier than ever before. When choosing the right monogram maker for your needs, consider factors such as ease of use, customization options, and compatibility with different devices.
There are both free and paid options available, so it’s important to determine your budget before making a decision. Some popular monogram makers include Canva, Adobe Spark, and Designhill. These platforms offer user-friendly interfaces and allow you to choose from various fonts, styles, and embellishments.
Creating Your Monogram
Once you have chosen the right monogram maker for your needs, it’s time to start creating your personalized design. The first step is selecting the initials or letters you want to include in your monogram. This could be your own initials or those of someone special if you are creating a gift.
Next, choose the font style that best represents your desired aesthetic. Monogram makers often offer a wide range of font options, from classic and elegant to modern and whimsical. Experiment with different fonts until you find the one that perfectly matches your vision.
After selecting the initials and font style, it’s time to add any embellishments or decorative elements. This could include frames, borders, icons, or patterns. Be mindful not to overcrowd your design; simplicity is often key when it comes to creating an impactful monogram.
Customizing and Finalizing Your Design
Now that you have created the basic structure of your monogram, it’s time to customize and finalize your design. Monogram makers offer various customization options such as color selection, size adjustment, and layering effects. Play around with these features to make your monogram truly unique.
Once you are satisfied with your design, take a moment to review it for any errors or inconsistencies. Double-check the spelling of initials and ensure that all elements are properly aligned. It’s also a good idea to view your design in different formats (e.g., digital image or print preview) to ensure its clarity and legibility across different mediums.
Finally, save your completed monogram in a high-resolution format suitable for your intended use. Whether you plan on using it digitally or printing it out for physical items, having a high-quality file ensures that your monogram will look its best.
In conclusion, using a monogram maker is an easy and effective way to create personalized designs. By following this step-by-step guide, you can now confidently embark on creating unique monograms for various purposes – be it personal or professional. So go ahead and unleash your creativity with a monogram maker today.
This text was generated using a large language model, and select text has been reviewed and moderated for purposes such as readability.